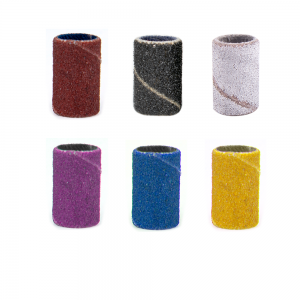
Narrator: Here is everything you need to know about getting acrylic nails. Nail preparation is essential to maintain the durability of the acrylic and prevent any nail lifting. First, you need to push the stratum corneum back to make sure it does not stick to the nail plate. Then the remaining dead skin should be scraped off the nail plate. Use electronic files nail bit to remove the stratum corneum area. Cut your nails as short as possible, and then scrape them off a bit with an electronic file. Finally, before using acrylic, clean the nails with a cleaner and dehydrate them. Before you start, you need to make sure that the nib is shaped and attached to the nail. Place the first acrylic bead in the middle of the nail, where the natural nail and the tip meet. Then the next bead should be placed under the original bead to cover the nail more. When applying acrylic, be sure to use light hands to ensure that the product will not be wiped off the nails. After the entire nail is covered, use transparent acrylic resin to prevent it from lifting or breaking. After the clear coating is completed, the nails can begin. Correct removal of acrylic resin is extremely important for maintaining optimal nail health. The first step is to trim the acrylic resin until it reaches the natural nail. Once the nails are short enough, use nail drills to make the acrylic as thin as possible. Dip some cotton balls in acetone, wrap them on the nails with tin foil, and let the nails soak. After about 15 minutes, remove the tin foil. The nails should be soft enough to be scraped off the nail plate. Finally, you can use an sanding bands to clean the remaining nails and remove any remaining acrylic.
Post time: Nov-09-2021
