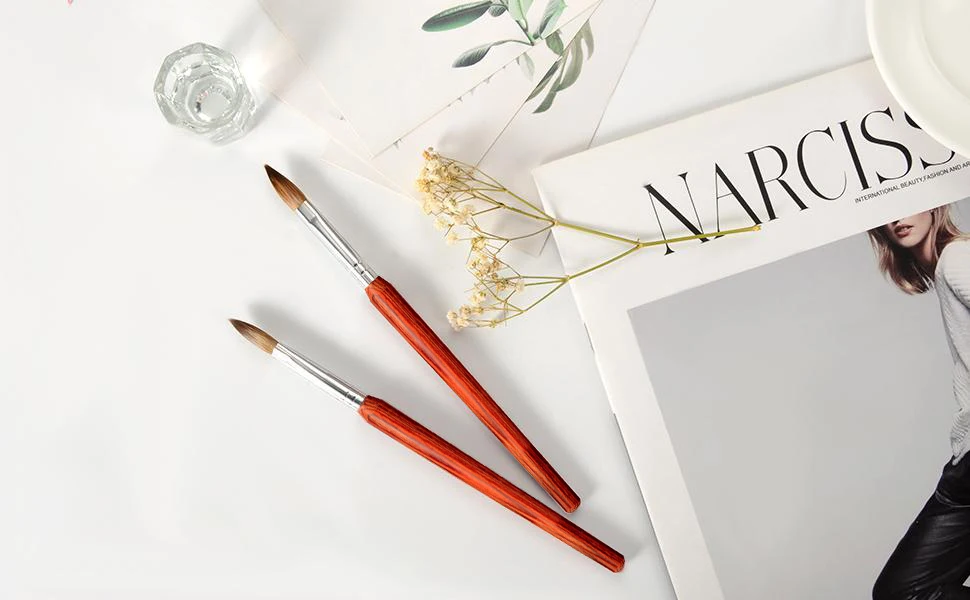
Elevate your nail art game with our Premium Nail Brush, crafted from high-quality pure animal fur (kolinsky hair). This brush features delicate, soft, and dense bristles that are perfectly shaped for optimal powder pickup, reducing waste and maximizing the efficiency of your acrylic nail applications.
Key Features
- Superior Material : Made from premium weasel hair, the bristles offer an exceptional grip, ensuring minimal product waste while achieving flawless application for acrylic nails.
- High-Quality Handle : The brush features a beautifully crafted wooden handle with clear and elegant grain, embodying a natural and eco-friendly style. Its ergonomic design fits comfortably in your hand, preventing slipping even during extended use.
- Durable Construction : The sturdy metal ferrule securely attaches the brush head to the handle, effectively preventing bristle shedding and handle damage, ensuring long-lasting durability.
- Elegant Design : The brush exudes a refined and stylish aesthetic, making it a must-have tool for nail enthusiasts.
Product Advantages
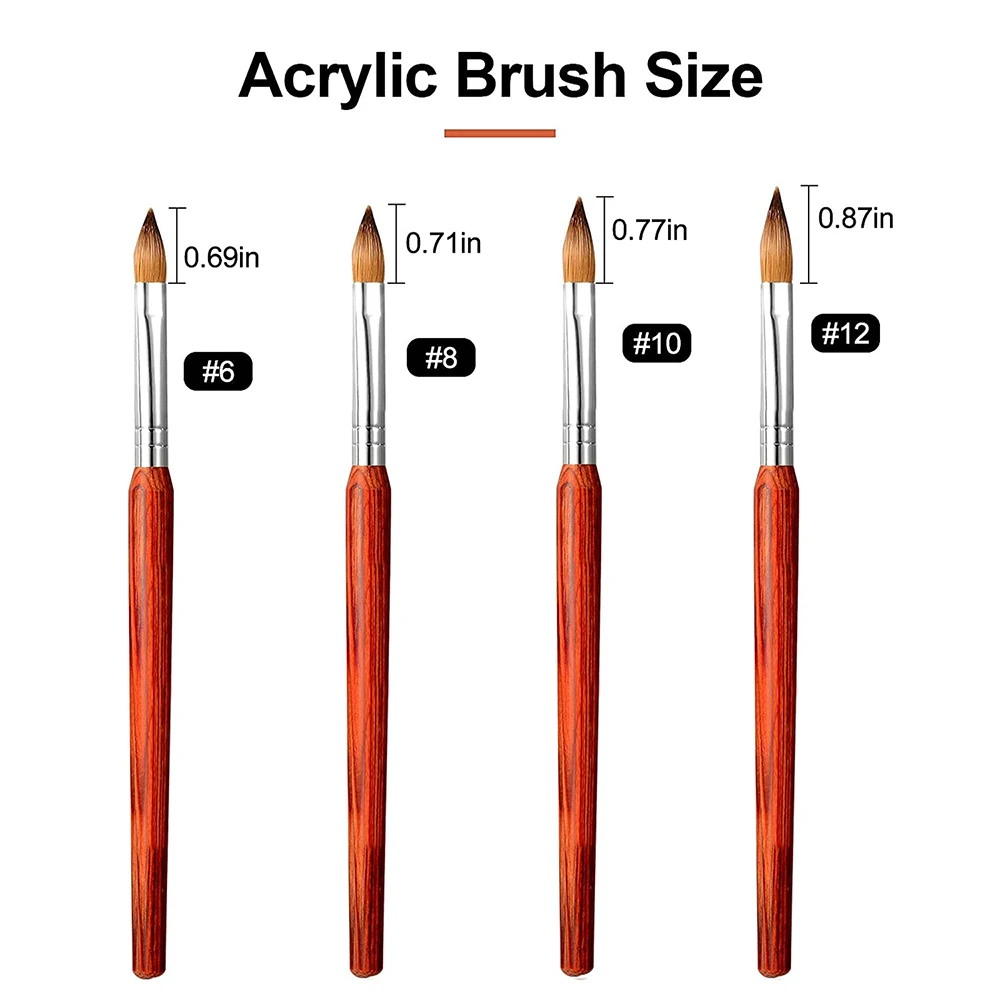
- Versatile Sizes : Available in various sizes to suit all your nail art needs, whether you’re looking for fine detail work or broader strokes.
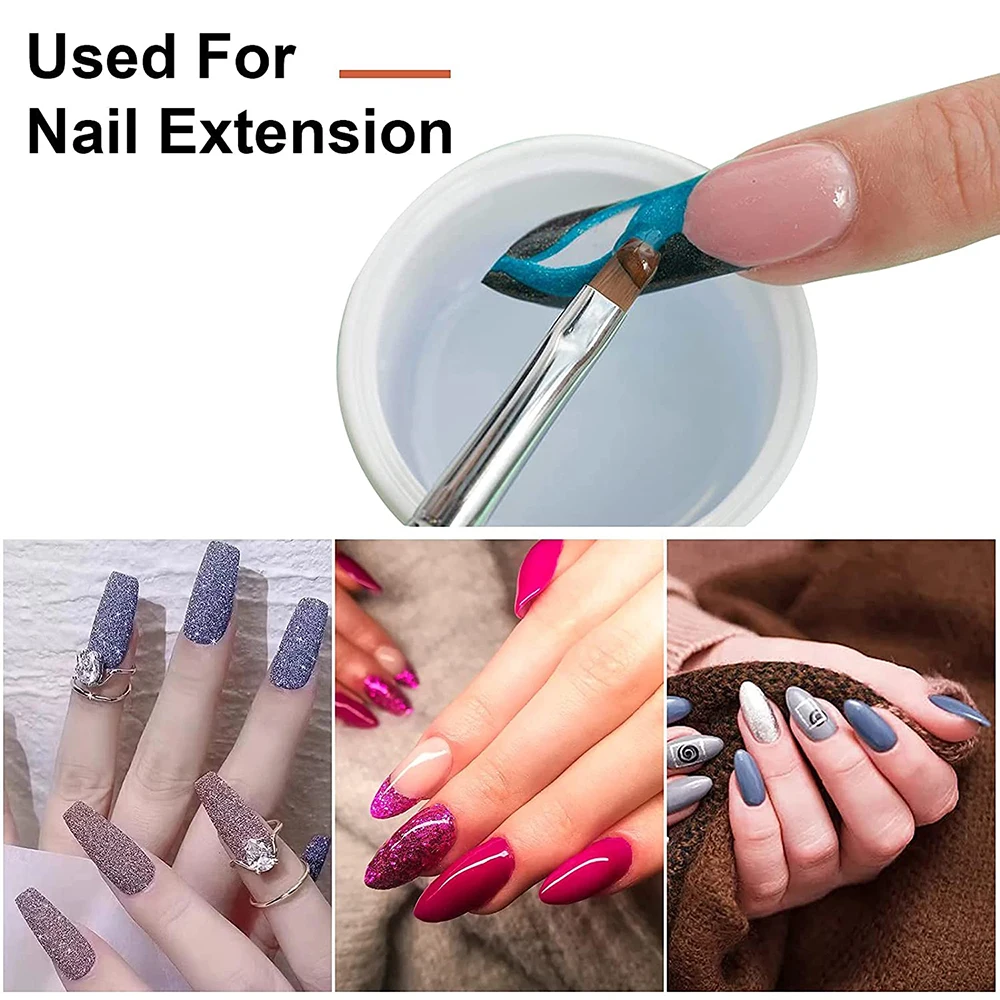
- Perfect for Different Nail Art Techniques**: Ideal for acrylic nails, nail extensions, 3D nail sculpting, and intricate nail art designs, allowing you to unleash your creativity.
Usage Scenarios
- Home DIY : Perfect for personal use, making it easy to create stunning nail designs from the comfort of your home.
- Nail Salons : A professional tool essential for nail technicians to deliver high-quality services to clients.
- Gift Option : An excellent gift for nail art lovers, providing them the tools they need to excel in their passion.
Suitable User
Whether you’re a professional nail technician, an avid nail art enthusiast, or just starting your nail art journey, this Premium Nail Brush is the perfect addition to your toolset. Experience the joy of creating beautiful nail art with ease and precision.
Transform your nail art experience today with our Premium Nail Brush and make every manicure a masterpiece!
| Size 6 |
Length: 6.9 inches | Tips Brush: 0.2 Inches x 0.8 Inches
|
|||
| Size 8 | Length: 6.9 inches | Tips Brush: 0.3 Inches x 0.9 Inches | |||
| Size 10 | Length: 7.0 inches | Tips Brush: 0.3 Inches x 0.9 Inches | |||
| Size 12 | Length: 7.0 inches | Tips Brush: 0.3 Inches x 1.0 Inches | |||
| Size 14 | Length: 7.0 inches | Tips Brush: 0.3 Inches x 1.0 Inches | |||
| Size 16 | Length: 7.0 inches | Tips Brush: 0.4 Inches x 1.0 Inches | |||
| Size 18 | Length: 7.5 inches | Tips Brush: 0.4 Inches x 1.0 Inches | |||
| Size 20 | Length: 7.6 inches | Tips Brush: 0.4 Inches x 1.2 Inches | |||
| Size 22 | Length: 7.4 inches | Tips Brush: 0.4 Inches x 1.1 Inches | |||
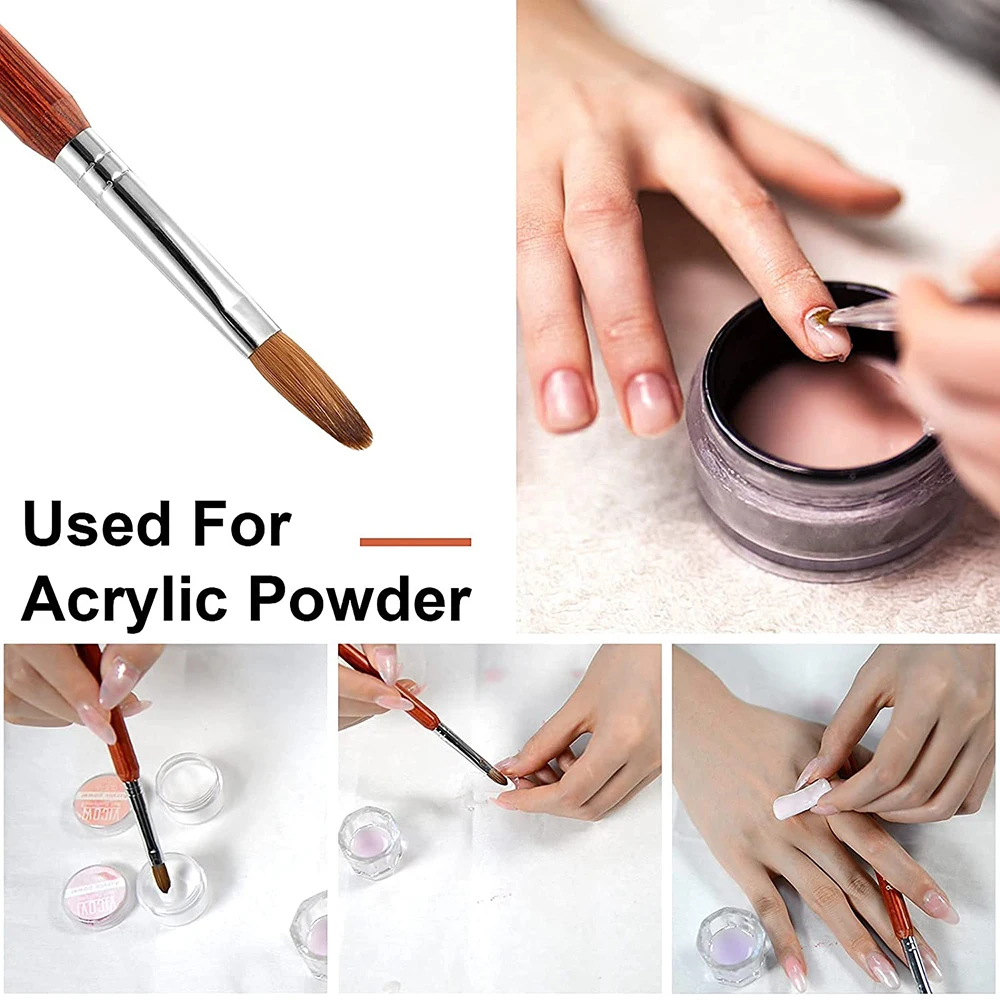
Here’s a step-by-step tutorial on how to create acrylic nails using a nail brush:
Materials Needed:
1. Acrylic Powder: Choose your preferred color.2. Acrylic Liquid (Monomer): Used in conjunction with the acrylic powder.
3. Nail Brush: A flat or oval brush is typically used for applying acrylic.
4. Base Coat: To apply as the first layer on the nails.
5. Nail File and Clipper**: To shape and trim your nails.
6. Cleanser: To clean your tools and nails.
7. Top Coat: To finish and protect your nails.
Steps to Create Acrylic Nails:
1. Prepare Your Nails:
– Start by cleaning and shaping your natural nails. Remove any polish, push back cuticles, and trim your nails to the desired length. Use a nail cleanser to ensure there’s no oil or dirt on the surface.
2. Apply Base Coat:
– Apply a thin layer of base coat on your natural nails. This helps the acrylic adhere better.
3. Mix Acrylic Powder and Liquid:
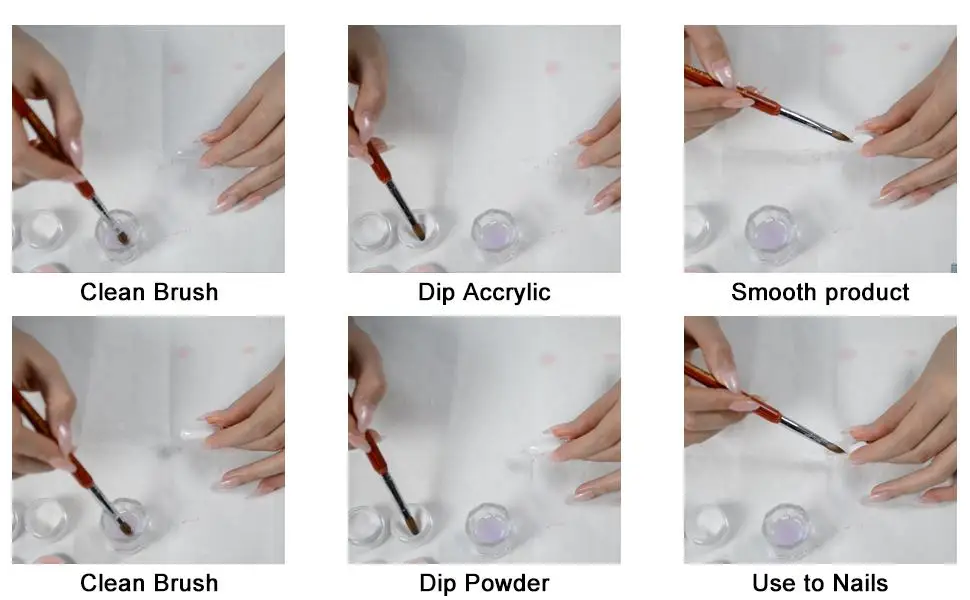
– Dip your nail brush in the acrylic liquid, then quickly dip it into the acrylic powder. The right ratio is important—usually a ball forming on the brush is ideal.
4. Apply Acrylic to Nails:
– Place the mixed acrylic bead onto the nail and use the brush to spread it out, creating the desired shape and thickness. You can start at the cuticle area and work your way to the tip, ensuring an even application.
5. Shape the Nails**:
– Use the brush to further refine the shape and smooth out any imperfections. You may need to add additional beads of acrylic for a more structured shape.
6. Allow to Dry:
– Let the acrylic nails air dry. This usually takes a few minutes. Ensure not to touch them during this time, as they need to cure completely.
7. File and Buff:
– Once the acrylic is completely dry, use a nail file to shape and smooth the free edges and the surface of the nails. Buff them lightly to achieve a smooth finish.
8. Apply Top Coat:
– Finish by applying a layer of top coat to give your nails a shiny finish and additional protection.
Additional Tips:
- Maintain hygiene by keeping your tools clean and sanitizing your workspace.
- If you’re new to acrylic nails, consider consulting a professional for guidance or practice on other surfaces before working on your nails.
This guide should help you create beautiful acrylic nails using a nail brush. Happy crafting!
Send your message to us:
-
100% Kolinsky Metal Handle Thick Kolinsky Hair ...
-
3/32” Colorful Nylon Brush Nail Art Tools...
-
3/32” Stainless Steel Dental Prophy Coppe...
-
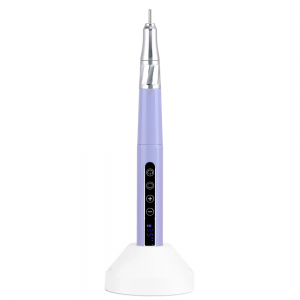
handpiece 35000rpm Nail Drill Machine Cordless ...
-

60W smart T18A Electric Nail Drill Machine 4000...
-
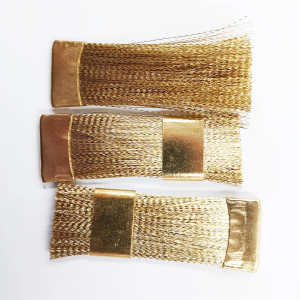
Adjustable Gold Metal Stand Nail Brush Cleaning...
-
Brushless 35000 RPM Desktop Cordless Rechargeab...
-
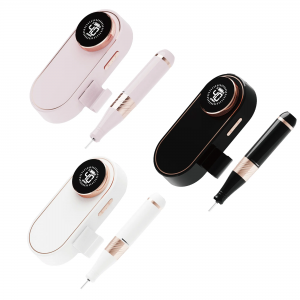
UV 311 40000 RPM Nail Drill Machine E File Pedi...
-

Crimped Pure Kolinsky Acrylic Nail Brush for ac...
-
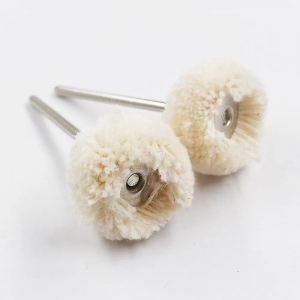
Cuticle Clean Yarn Brushes 3/32” Shank Ya...


